Working on the lunch bags for Donna (and myself :)
The learning continues. This is a practice run implementing minor improvements before sewing the official swap bags. Improvements are mostly around the use of bias tape. Would love some feedback/tips on utilization.
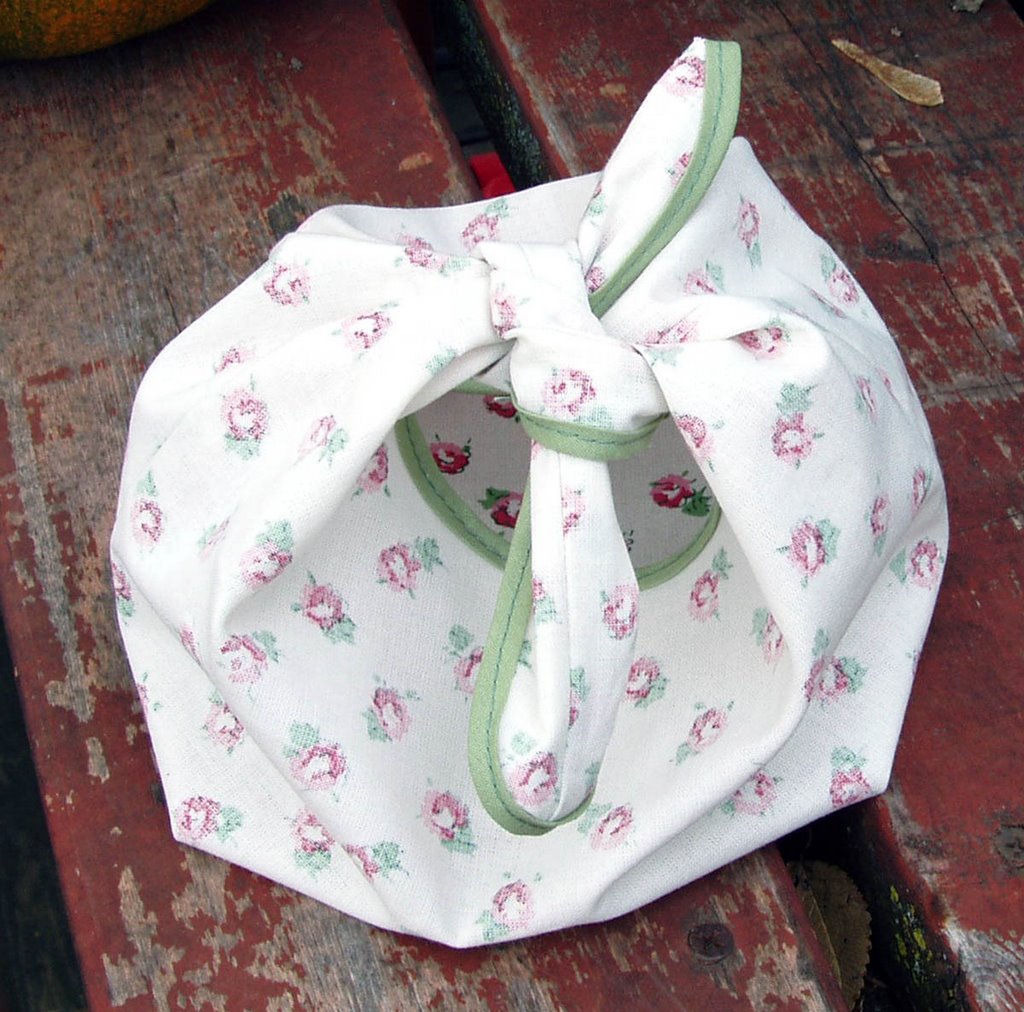
Above is the finished bag in standing, tied position. Really like this presentation. Constructed with the fabric inside-out so the brightness is on the inside. The subtlety meshes well with the simplicity of the finished bag.
It's technically "wrong-side-out". I'm making those for Donna with the fabric "right-side-out".
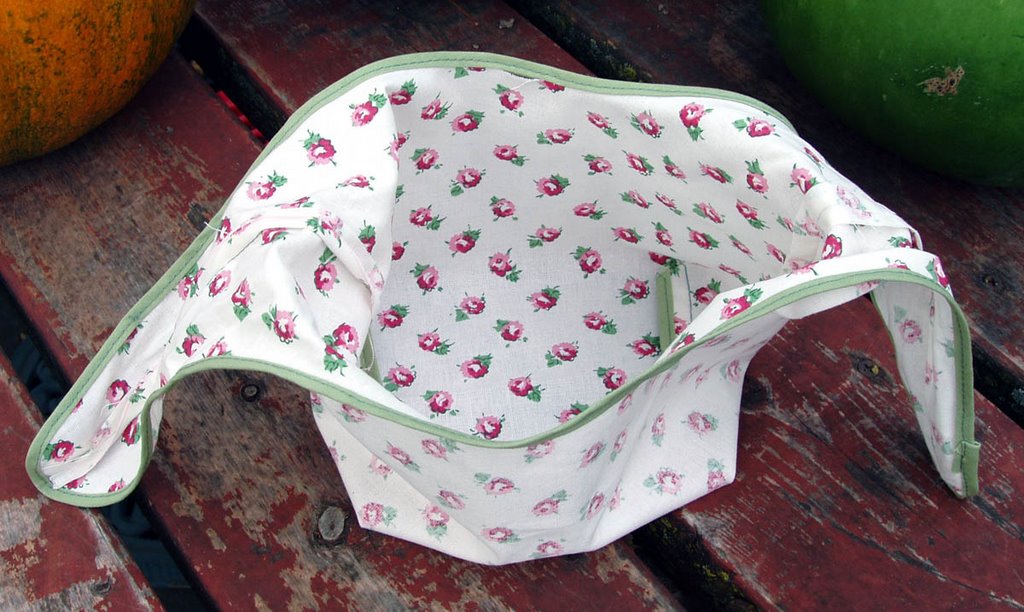
Finished bag - standing and open. You can really see the contrast of colors interior v. exterior. Note bias tape on the internal bottom seam. Didn't use it on the side seams but will moving forward. In addition to a nice finish it should add just a touch more structure. Haven't quite figured out how to negotiate the intersection between tape and stitching.
 Also don't know is how to well treat the bias tape ends. They're so "frazzly". Tips?
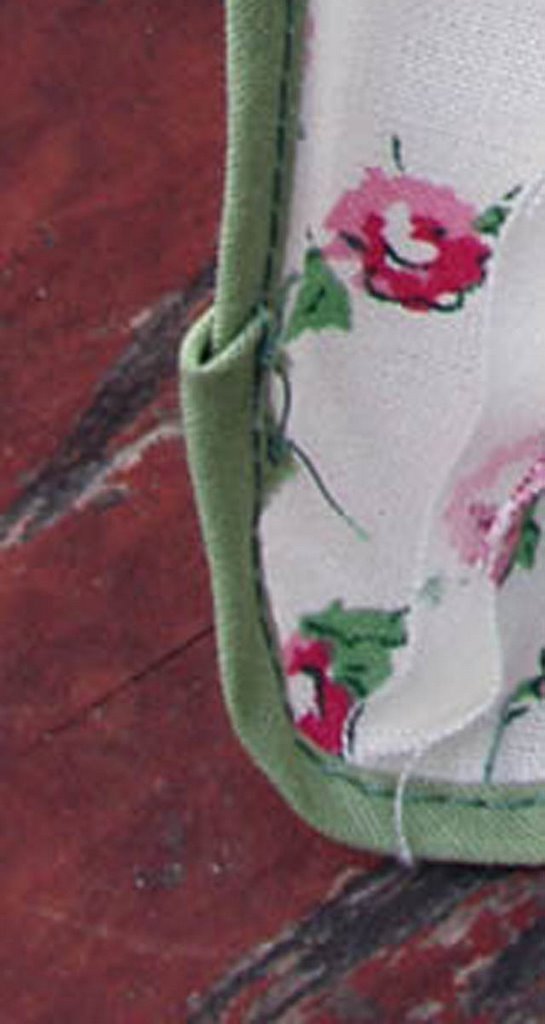 On the outer, handle edge I attempted to fold the tape under and sew it down. Amateurish. Is it an issue of practice or am I missing crucial technical knowledge?
Last night while watching "Zorro" (don't ask) and working on these I started dreaming of them on a larger scale. Hmmm...


9 comments:
Wish I could help...bias tape hates me. So I'll patiently wait for the finished project/tutorial?
Hi! Thanks for leaving a comment on my blog.
Your bag is very cute. I think handling bias tape is similar to handling bias binding on quilts. If you google that you should find plenty of resources. If you can't find anything, drop me a line and I will find one that I use.
I love that bag. It would make a cute purse too.
Eeeeeeek I popped over to see you and am now very excited about the bags. How gorgeous! I leave a bit extra on my bias, double it back under and blind stitch it to finish off. It's fiddly and tedious but worth it.
Hi there, thanks for leaving the first ever comment on my blog- it was exciting to realise someone had read it!
If I want really neat finish when stitching bias binding I Open it up, sew along the fold to the wrong side of the fabric and handstich it down on the other side. To finish the two ends together, sew it right sides together like any other seam- essentially forming a loop, but I sew it while its pinned on so I know I've got the right length. Hope that a) helps and b) is comprehensible!
Take care :)
You might want to try using french seams on the bottom and sides of the bag, just using the bias tape around the opening/handles. French seams are certainly less fiddly than bias tape but give a very finished look. Just an idea. The bag looks great.
Ive got nothing for you on the bias tape as I have tons of it that Ive picked up thrifting, but have no idea what to do with it. Love the lunch bag though!!!
Heya I answered your Q on on my post and now it wont let me highlight it to copy it here! sorry about that!
How cute! I love this idea!!
Post a Comment